Latest Products
We keep on updating and iterating our products, optimizing the structural design and creating a more scientific and reliable slewing drive device.
-
 Inner gear slew drives: compact and effici...
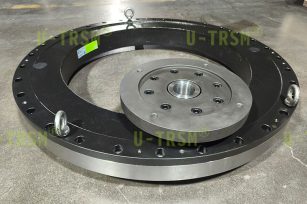
In the application scenario of heavy duty automated equipment rotating bases, facing severe requirements such as high...
Detailed instructions Send mail -
 Lightweight design and performance of U-TR...
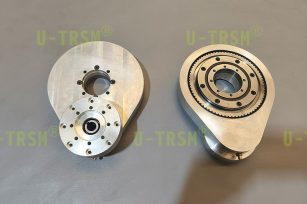
In the field of high speed automated mechanical equipment, the performance and light weight of the core drive compone...
Detailed instructions Send mail -
 Analysis of lightweight double gear slew d...
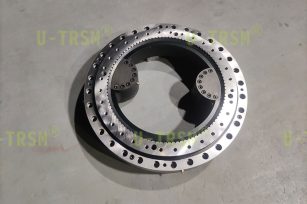
Core Design Advantages In response to the core demands of limited installation space for automated rotating pl...
Detailed instructions Send mail -
 Selection and characteristics of slewing d...
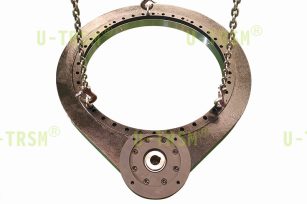
This slewing drive is used in automated mixing equipment. The customer requires that it rotate in the same direction ...
Detailed instructions Send mail
How to measure the slewing ring diameter?
Publish time:2021/08/09 News Views:920
In the final grinding and matching clearance of the slewing bearing, the raceway diameter must be tested to avoid repeated trial installations. So, how to measure the slewing bearing raceway diameter? There are many methods to inspect slewing bearing raceway diameter, some use callipers clamp two steel balls to make test, some calculate measuring method for wall thickness, but some measurement errors are too large, some tests are cumbersome. If the pipe ruler is improved on the basis of the ball head ruler, the slewing bearing raceway diameter can be quickly and accurately measured on the machine tool.

1.Make measuring head
Pipe rulers usually have ready-made fixed rods at both ends, you only need to change the measuring head shape. Cut the steel ball in half with wire cutting. One half is soldered (or argon arc welding) to the measuring head and the other half is fixed on the dial indicator head, then installed on the fixed rod connected to the pipe ruler and the measured work can be carried out.
2.Measurement methods
Replace the fixed measuring head of the pipe ruler and the measuring head of the dial indicator with steel balls for assembling the slewing bearing raceway, use a block gauge to align the raceway diameter and calibrate the dial indicator of the tube ruler to zero, use pipe ruler fixed end steel ball position on the side of the slewing bearing raceway during measurement, the dial indicator is on the other side of the raceway, with the fixed end steel ball as fulcrum, rotate the pipe ruler along with the slewing bearing raceway plane to find the turning point, the dial indicator reading is the measured value of the raceway diameter, if the value reaches the required value, the raceway grinding process is qualified and the next piece can be processed, if the size has not reached the required value, continue processing until the size meets the requirements.
3.Measurement accuracy verification
Comparison of the bearing clearance calculated based on the measurement results of the ball head ruler and the actual bearing clearance after assembly, the error of the bearing clearance value calculated by the ball head ruler is within 0.01mm, it is proved that the ball head ruler measurement can meet the processing and testing requirements of high precision slewing bearing.
4.Advantages and disadvantages of testing
(1)Testing on the machine tool does not require removing the parts from machine tool for trial assembly, which greatly improves work efficiency.
(2)The measurement accuracy is high, which can meet the processing and testing requirements of the small clearance slewing bearing.
(3)This method can also be used to test crossed roller slewing bearings.
(4)The measuring tools need to be self-made, the testing methods should be skilled and the requirements for the testing personnel are high.
We understand how to make ball head rulers, measurement principle, verify the measurement accuracy, clarify the test advantages and disadvantages. So those of you who like hands-on attempts hurry up to pick up the tools and make a simple and practical ball head ruler. If you have any questions in the production and use, please contact Unique Transmission, we are very happy to help you.
- U-TRSM can meet the non-standard slewing d...
- How should the slewing drive be lubricated...
- Analysis of the anti-corrosion design for ...
- Unique Transmission invites you to enjoy f...
- Analysis of the service life of the worm g...
- What is the core turning component of the ...
- Introduction of some applications of spur ...
- A qualified slewing bearing requires a lot...


